Homemade Pineapple Wine Recipe: A Tropical Delight
Do you enjoy sipping a sweet, sultry glass of wine on a night out with friends?
Or kicking back poolside with a fruity sangria?
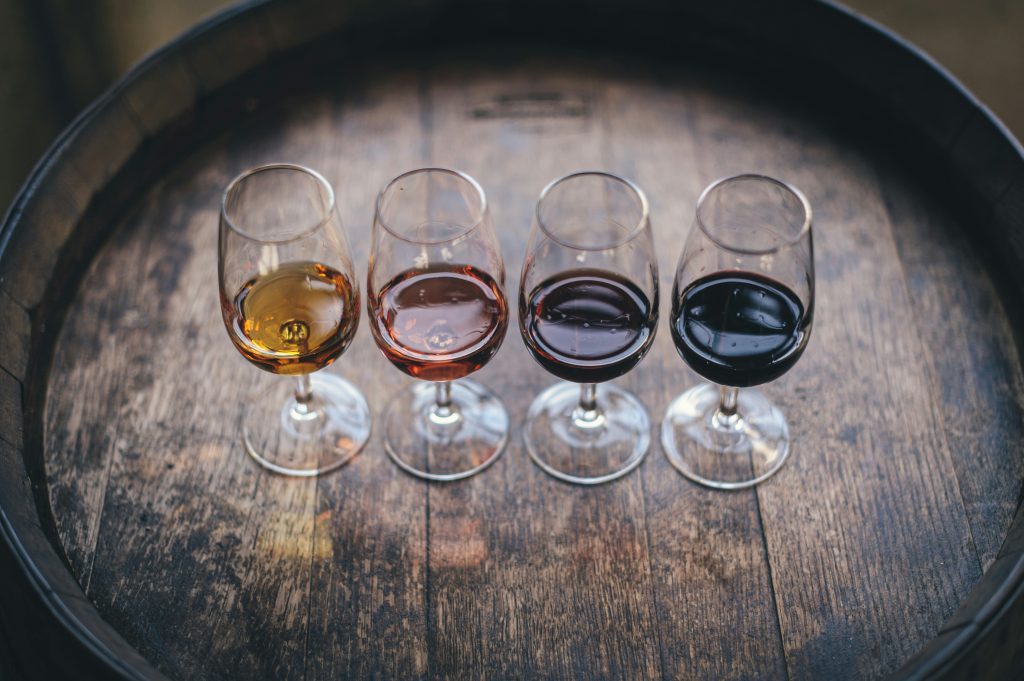
Most people think of grapes when they imagine winemaking. However, a juicy fruit like pineapple gives the wine a vibrant, tropical flavor that makes you imagine sunny days and warm breezes.
If you’re a regular reader, you know pineapples boast many health benefits, like immune-boosting vitamins and enzymes that promote gut health, which is a nice bonus when you’re sipping on your favorite toasting beverage.
Now, we won’t tell you to drink a bunch of wine to improve your health. We all know there are risks associated with alcohol consumption. But for those who enjoy sharing an occasional glass with friends, it’s nice to know pineapple wine packs some moderate benefits. Plus, it’s fun to make!
So, let’s learn a little about winemaking so you can bust out this delicious pineapple wine at your next get-together and wow everyone.

Select the Sweetest and Ripest Pineapples
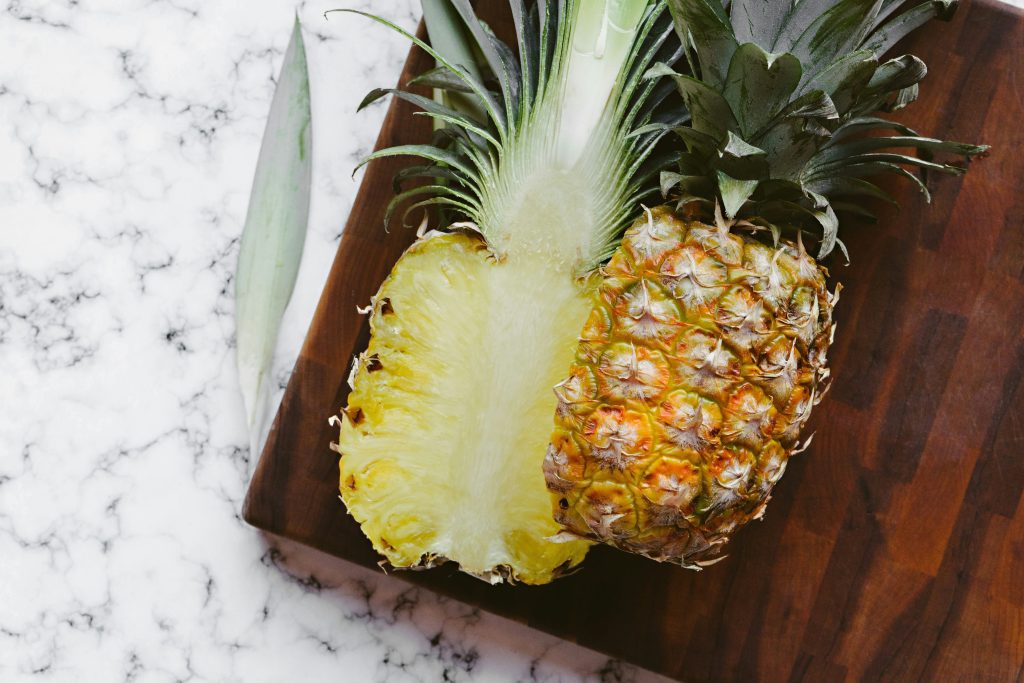
Knowing when to harvest your fruit is important for anyone who gardens. A good rule is that the fruit needs to be ripe. You can exclude under-ripe or rotten bits from your wine as it can tarnish the taste. If you’re buying your fruit, you’ll want to choose produce at peak ripeness. All of Chestnut Hill Farms Perfect Pineapples are grown in the rich fields of Costa Rica and are harvested at their ripest. Ripe pineapples will be heavy (as they have more juice), smell sweet, and have green leaves. You should also be able to pluck a leaf from the top easily!
Processing Your Pineapple Wine
Now that you know you’ve picked the most flavorful fruit for your wine, you can start the winemaking process. After crushing, pressing, and sometimes pureeing the fruit, the next step is adding yeast. Fermentation is the key to making wine. The yeast starts this process, allowing the sugars to turn into alcohol over a week-to-month-long process. Once you have your wine, you can clarify it by filtering or fining it so that when you pour a glass for your friends, it comes out as polished and beautiful as any store-bought wine.

Aging and Bottling Your Pineapple Wine
After the processing period, you can bottle your wine. This step is important in preserving the quality of the wine as it ages. While some pineapple drink recipes like our warm and citrusy Mulled Pineapple Punch can be made in minutes, wine benefits from aging over time. Many people choose to store the wine in a cool place for a few extra weeks or months as the bright, fruity flavors continue to mature.
Ingredients
- 2-3 Chestnut Hill Farm Perfect Pineapples (3 lbs once prepped)
- 2 lbs pounds of granulated sugar
- 1lb golden raisins
- 1 gallon of water
- 0.5oz citric acid
- 1 package of white wine or Champagne yeast (double-check the directions on the package, as usage suggestions can differ by brand)
- Yeast nutrient (follow instructions on package)
- Campden tablets (optional for sterilization)
Instructions
You might already have what you need to create this delicious Pineapple Wine recipe at home. However, some winemaking gear can help make the process easier: an airlock, demijohn, muslin cloth, vinyl tubing, and funnel. We only suggest the airlock in our instructions.
- Peel, core, and chop your pineapples, then measure out 3 lbs of pineapple flesh. Tip: Using a grooved cutting board will help you collect the juice when prepping. You can chop your raisins during this step, too.
- Add the pineapple pieces, juice, and raisins into a 1-gallon fermentation bucket.
- Next, boil 1 gallon of water in a large pot and bring it to a simmer. Add sugar to the pot and stir until it completely dissolves. Then, let the sugar mix cool for 10 minutes before pouring it over the chopped pineapple and stirring everything together.
- Get a good night’s sleep. No, seriously. At this point, leave everything alone for at least 12 hours so the sugars have time to release.
- After the waiting period, stir the mixture and add the citric acid, yeast, and yeast nutrients. You’ll want to cover the fermentation bin and allow everything to sit for 24 hours. The yeast will begin reacting with the sugars and begin bubbling. Tip: If the fermentation process hasn’t started within 48 hours, something could be halting the progress. You can crumble 1-2 Campden tablets into the mixture and leave it for another 24 hours before adding the yeast again to start the fermentation.
- Wait. Gently stir the mixture twice daily over the next week as the fermentation process works its magic.
- Next, strain the mixture over a sterilized bowl so any solid pieces get caught in the filter or cloth and the juice collects in the bowl. Transfer the liquid into a sterilized 1-gallon milk container and attach a bung and airlock. Tip: Measure your container before beginning, so you make sure to buy a bung and airlock that fits.
- Place your wine in a cool, dark place where you can keep an eye on it for 3-6 weeks. At this stage, it’s going through a second fermentation process. Check on it regularly.
- Your wine is done when the bubbles from the fermentation process are a minute apart. From here, you can bottle your wine if you don’t mind the cloudy look or rack it 2-3 times before bottling it so it’s crystal clear.
Congratulations! You just made your first homemade batch of wine. You can enjoy this drink immediately or allow the wine to rest for a few months and let the sweet and tangy flavors develop into a rich refreshment to bust out during summer.
Find Your Next Pineapple Treat
Get more pineapple in your life and enjoy all the ways you can use this tropical fruit in the kitchen by receiving pineapple recipes and facts straight to your inbox. Sign up for our newsletter today!
